I did want to share a super fast tip as well. I know there are a lot of tutorials out there for recoloring but I have a little different way of doing it (because I feel like I have more control over the finished product this way.) This would work for the grey toned freebie I shared last week as well.
image cropped from original png file
create a brush from the card by clicking edit>define brush
name your brush (or don't...I usually don't bother as it's not an image I plan to save indefinitely. the default brush name is whatever the file is called)
open a new card canvas by clicking file>new>blank file (ctrl + n)
set your width to 3, your height to 4 and your resolution to 300 and click ok
create a new layer by clicking the new layer icon at the bottom of the layers palette
activate your brush tool (B) and select the image you just created. for brush images that aren't very dark, you won't be able to see a ghosted outline of the design so to ensure you get the whole image when you stamp, first turn on the grid by clicking view>grid or ctrl + '
when you "stamp" your image (in any color you choose!) just align the visible + that shows up instead of a cursor with the center of the canvas - use the grid to locate the center
since these cards are very subtle, you may want to simply duplicate the brush layer (ctrl + J) to darken the image (you can also duplicate the original file and change the mode to "multiply" or some other darkening mode to achieve this)
to make the card multi-color, add a new layer, clip it to the image layer (ctrl + G) select a regular round brush and color over the areas of the image that you want each specified color. the beauty of recoloring using this faux PSE clipping mask technique is that if you make a mistake, it's easy enough to simple erase or cover the area with a new color
I just realized these are ALL new dishes so fingers crossed for some winners! Some verdicts from previous weeks? (my friend Jen does this and I love reading the updates on new dishes) The taco rolls from last week? They were OK. Probably not something I'll work in regularly as I didn't think the effort was worth the reward - not enough of an improvement from a regular taco/burrito but I suppose a great appetizer type of food. I will say I liked them MUCH better cold from the fridge the next day ;) Also, the quinoa with corn and scallions from the week before...also just an "eh." There's potential but I have a couple of similar recipes in the queue so I probably won't mess around with trying to improve on this one. I did pick up Cooking from the Garden from the library a couple of days ago. It's not strictly vegetarian fare but most recipes are and those that aren't could be adapted. Looks to have a ton of promising recipes so I'll more than likely be incorporating a couple into next week's menu.
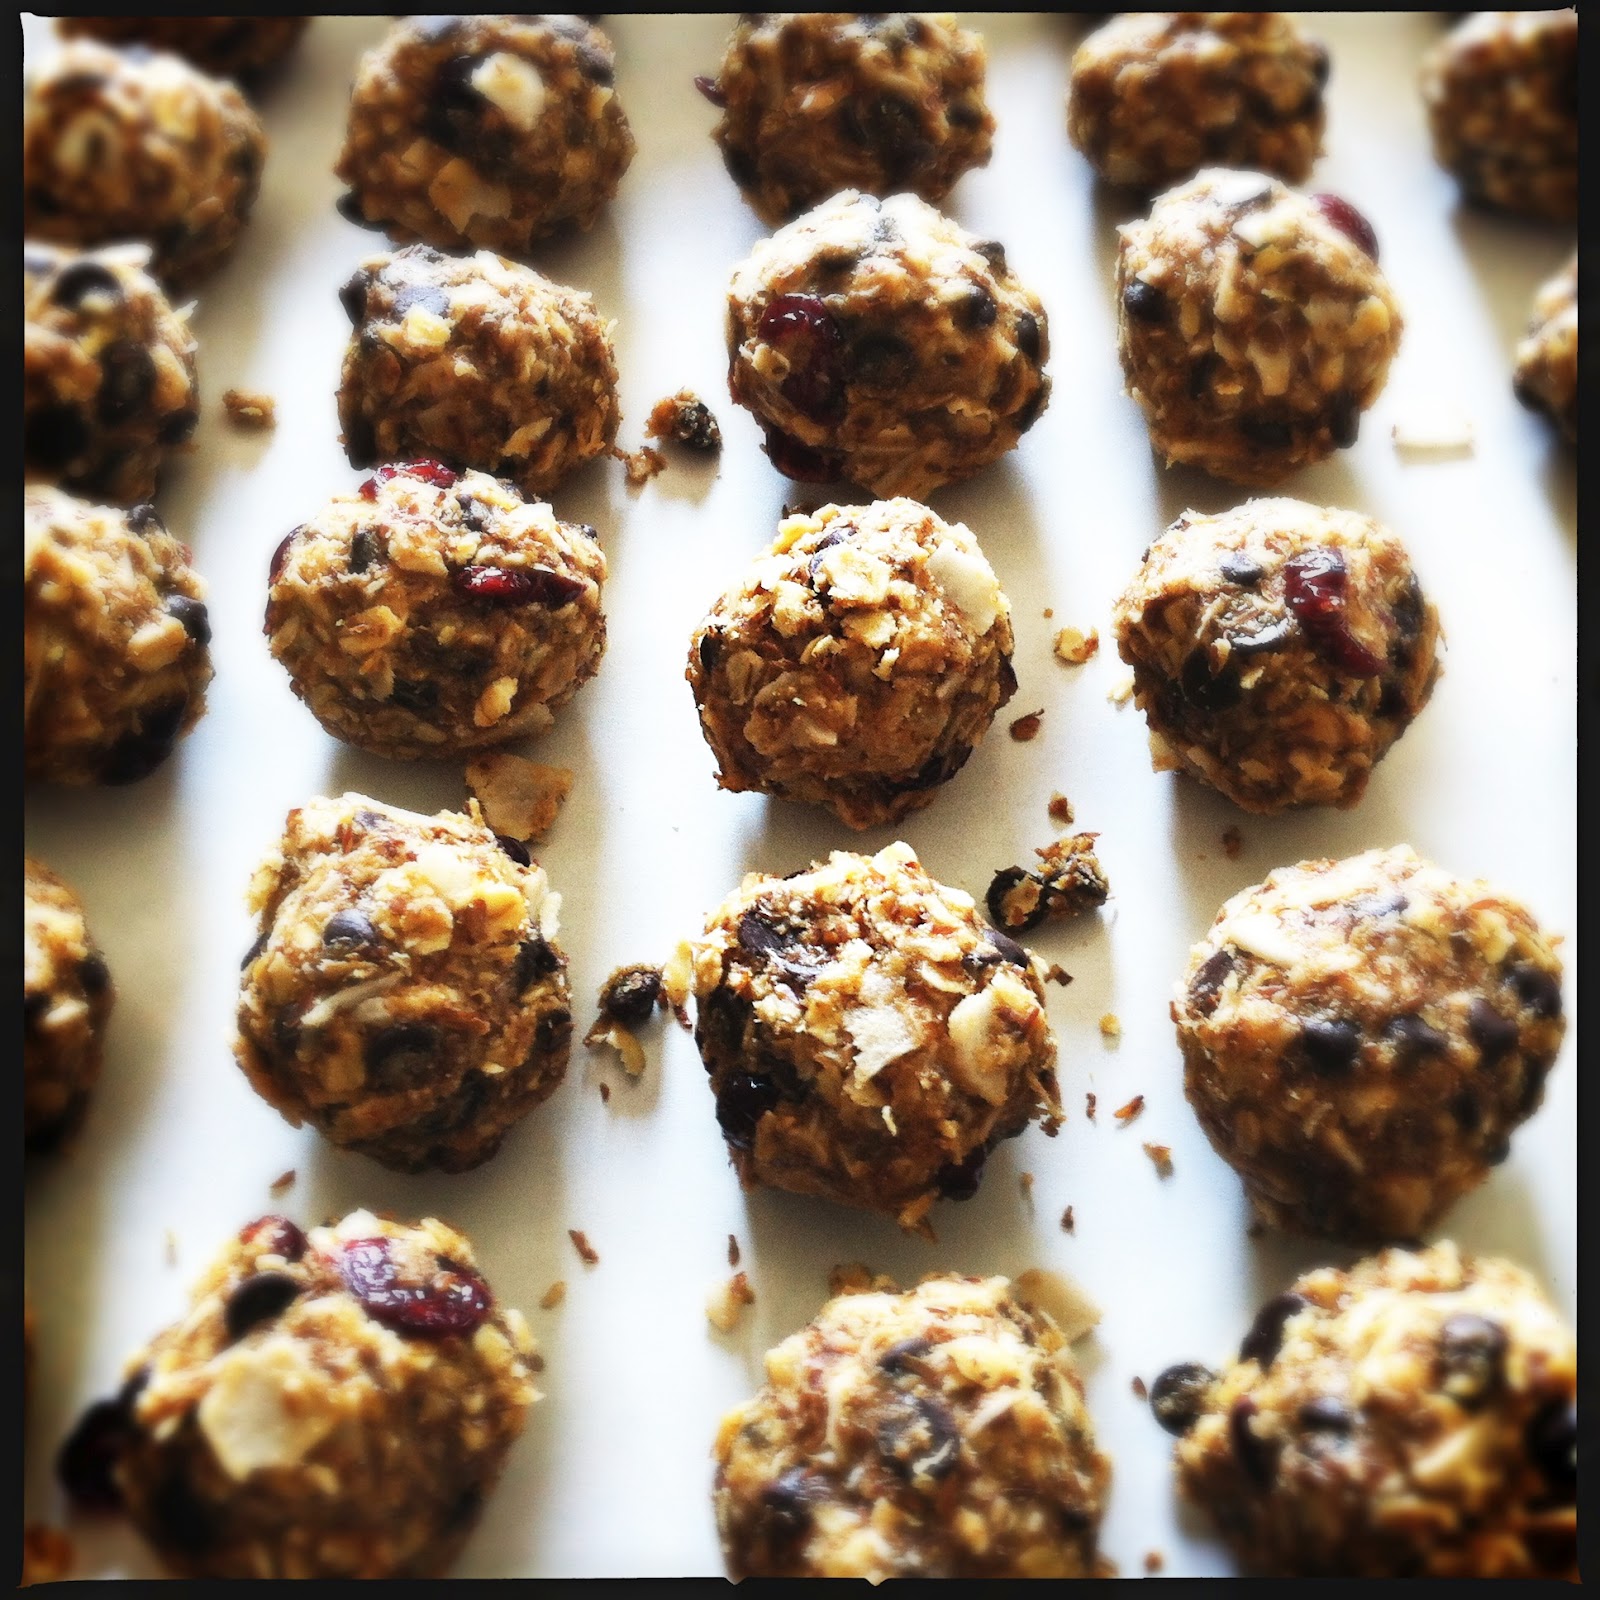
Uh, yeah. "energy bites" is a total misnomer. These, possibly, give me the energy to make the long trek to the refrigerator for a second, third and possibly fourth bite. If I'm going to get fat though, it might as well be off nutrient rich calories including the exceedingly good for you flax seed (such a great way to hide it in something you KNOW your kids will eat) rather than empty ones. Thinking I could add in some chia seeds as well...next time!
The added bonus? It's a great way to use up the buttload of coconut flakes I have thanks to my failed vegan bacon experiment.
So go, make some. Make a double batch. And throw in a handful of dried cranberries as well - delicious!
There was a question on the general scrapping board about using a png file in a program other than photo editing software so I put together this step-by-step about how to use these types of files in a word processing program like Word. These tips will work for the freebie I shared the other day but in the sample, I'm using the Action 2012 freebie.
1. Open a new document and click insert and then click picture.
2. Locate your image file on your computer.
3. When yo insert the image, it will automatically resize to fit within the default margins. That's fine for now! Just select the format option in the top toolbar and then click crop.
4. For this example, let's assume we want to print the "favorites" card. Locate the left center "handle," click on it and drag it to the left edge of the "favorites" card as shown by the box (you will see this box as well as you execute this step.)
5. Repeat the previous step using the right center handle this time.
6. And again, this time with the bottom center.
7. Now you have your chosen card isolated.
8. To get the image back to it's original size, right click on the image and select size.
9. Under the "scale" section, change your height and width to 100%
10. Now your card is back to 4x6" To insert another image and print two cards to a page, you'll need to rotate this image to leave room at the bottom for your second card. To do this, you'll click on the green handle shown and drag to the left or right to turn it horizontal. If you hold the shift key as you turn the image, it will "click" in pre-determined angles and make it easier to get the image perfectly horizontal.
11. Done! Now repeat these steps for a second card and print as usual!
If you have any questions, just leave them in the comments and I'll do my best to answer.
Sorry folks, I got nothin' I had good intentions and had a kit started but I kind of fizzled out before I finished. I could have kept going and released it next week but I felt like I was done with it and wanted to just start printing a few to add to my stash.
Everyone can use days of the week cards, right? Add some easy journaling or plop a picture or two down. Mine, of course, on white and kraft so I can keep it neutral or add some color with embellishments. I'm sharing what I did get done. A word of warning, these come in a single png for the 3x4cards and a single png for the 4x6 cards + separate pngs for the "let's do this" and "one of those days" overlays so, you'll need to know how to manipulate those types of files in order to use these.
ETA: Lisa did a great tutorial at Peas showing how to move pngs to a 8.5x11 for printing...find it HERE.
And the tuscan pasta from last week? Eh, not so much. I do love the idea of it but next time, I'll make the sauce from scratch. The jarred alfredo? No bueno.
I don't very often make the time to scrap for myself any more - my own issue that I need to work to overcome more frequently. I took this picture of Izzy the other day though and figured it was time for an update layout (yes, the boys are overdue as well but she's just so darn handy!)
I know chevron is all over the place (it's everywhere in my own kits as well) and I'm so good with that. For this layout, I wanted a subtle color shift though so I combined chevron with another popular trend: ombre. It's a simple enough process in PSE.
Open your patterned paper and duplicate (ctrl + j)
Create a new layer, select the Gradient Tool (keyboard shortcut "G") and choose the "foreground to transparent" option.
With white as your foreground color, click and drag your mouse from top to bottom on your paper canvas.
Move the top paper layer above the gradient and merge down (ctrl + g)
Merge permanently with ctrl + e
Create another gradient layer, this time dragging bottom to top.
Adjust the opacity of the white gradient (I used 85% to *just* allow the top chevron to show through) and duplicate the gradient chevron layer. Make both gradient chevron layers "multiply" mode. Flatten the image to use in your layout!
Layout completely and totally inspired by an ad project I found in the Make & Matter portfolio (remember rounding the corners of everything - layout background included? I loved that. Need to do it more.) And I used an old school font for the journaling - my all time favorite Autumn Leaves font: Uncle Charles.
Go ahead and call me cheap and easy. I can take it.
I've had this photo from our trip to California edited and stowed away for months now. The plan was to print it large to hang somewhere in the house. I love this area of the state and this particular picture just speaks to all the good things that people think of California.
San Luis Reservoir • Pacheco Pass
Finally a few days ago, I opened it back up and did something with it. I still plan to do something "more" with it but until some definitive idea makes it's presence known, this project will suffice.
I've been ordering my project life photo prints (and sometimes journaling cards as well) from Walgreens because it's convenient and cheap and they regularly have sales. The other day, I placed a really small order and wanted to beef it up a bit...that's where this project came in.
Basically, I took the above image and divided it up into 16 component pieces - a 4x4 grid that is incredibly easy to create.
To start, your image must be proportional to a 4x6" image. My edited and cropped image is 3260x2174 px. Not large enough to produce 300 dpi 4x6" crops but large enough that the prints didn't suffer much quality-wise.
Next, I opened a new 6x4" canvas and dragged the new layer to the photo. Obviously, at this point, it's much larger than what you need.
From this point, I tried to create a quick video to give you the gist of the process. The sound is funky and useless (I'd just turn it off altogether) but basically, I'm duplicating and resizing to create the grid. To create a duplicate, hold the alt key while you click and drag on the image. To select multiple layers for duplication, hold the shift key while you click on each image. To line up the grid images, hold your shift key to choose the layers then use the align tool.
Once the grid is positioned, make sure your background image layer is selected and while holding the ctrl key, click the thumbnail image for the top left grid box. Image>Crop, hide the grid box and save the resulting photo. Ctrl + Z to undo your crop and then repeat the process for each of the grid pieces.
The individual photos don't look like much (and your photo developer will probably think you're deranged) but as a grouping, they're pretty, right?
Out of the envelope.
Arranged.
Temporary hanging spot until I figure out where I want them.
My helper...never far away when the camera is out.
total cost = $1.37
Tutorials are not my forte but if you have any questions, leave them in the comments and I'll do my best to answer them!
You can buy the elements individually as well though if you want to mix and match.
I was going to do some wordart as well but didn't get around to finishing it. I'm sharing what I did get done (some letterpress look rounds as well as rubons) here though if you want to grab them. Just click to get the full size png for downloading. And I'd love to see what you do with it if you end up using it!
and a couple of other things I want to try: roasted cabbage (probably a lunch option some time this week...maybe with some brown rice) energy bites (making a double batch so I can share with my dad!)
I had a lot of fun putting this kit together over the past few days. It includes (44) papers, (8) polaroid-type frames, (12) journaling cards, (2) alphabets and a bunch of flags. I love the stripe and grid based patterns and the colors are so me. I'd love to share it with a couple of you to play with over the weekend before it releases on Tuesday. If you're interested, let me know in the comments by Thursday night and I'll email it to a couple of people on Friday!