I've slowly been adding to this corner for a few months now. I've wanted to create a gallery wall for years but deciding what direction I wanted to go as far as frames and choosing photos is HARD. I know you feel me.
Once I took inventory of what I had on hand though, I had a pretty cohesive start and I've slowly been adding more. I didn't want to do all matching frames as I didn't want to be locked in to the same color and style but what evolved is the mix of white, black, wood, and pattern you see here.
I tried to get a good mix of old photos, new photos, and prints. I want to add something hanging in the corner - a plant or mobile of some sort. Forgive the terrible iPhone photos - my Canon hasn't been charged for months (and for the record, almost all of the modern era shots featured are from my phone as well.)
Left side:
Right side (the empty frame is awaiting the woven piece I'm currently working on):
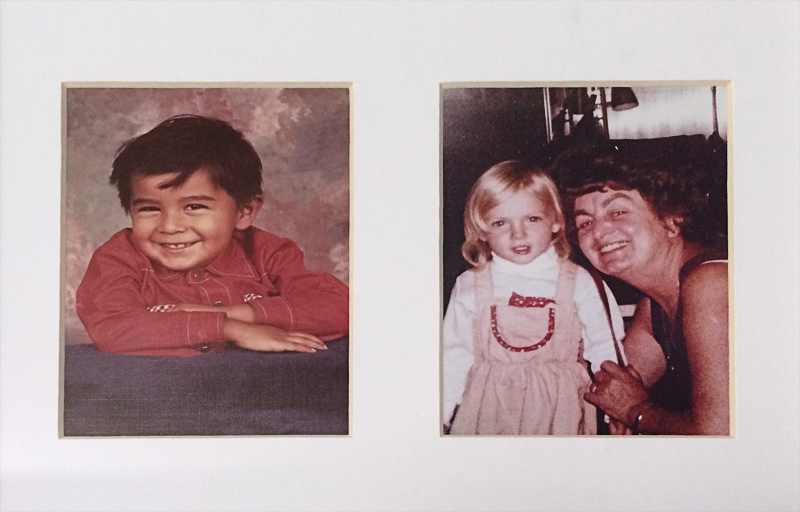
And a few details...how cute was Carlos?
That wood accent was pulled off the front of a greeting card (that I bought specifically for the purpose of using on a scrapbook page.) It worked perfectly with that photo of C + I from a couple of years ago.
I designed this poster originally for Izzy's room as she was kind of obsessed with Cosmos and particularly this quote (which had her staring at her hands in wonderment.)
I know it's kind of hard to see because of the glare so here is the original. If you are/have a star-lover and would like to print one yourself (like $4, seriously) you can download it
HERE.
The
La Linea art I've been dreaming of making forever. Hanging below, a simple print I made to semi-coordinate with the star stuff poster - because it's always a good time for Earth, Wind, & Fire.
A quick and easy way to "finish" a poster. I used balsa wood (
this to be exact) to create those bars. I cut the piece to 18" and then, cut that into 1" strips. I used a rotary cutter and it worked awesome - super lightweight and easy to attach and hang. I ended up covering the strips with woodgrain tape that happened to be 1" as well because I didn't love how the bare balsa looked with the other frames in the vicinity but I've done bare wood as well.
This print from
Tina hangs on the opposite wall and I used the same technique.
Here's what I realized. The photos you choose don't matter. Simply having them there makes me happy. I can always switch them out and add more to it but as usual, done is better than perfect.


